Node:Top,
Next:Installing,
Previous:(dir),
Up:(dir)
Intro
This file contains installation instructions for MiKTeX 1.20e.
Node:Installing,
Next:Setup Options,
Previous:Top,
Up:Top
Installation
- If you still have MiKTeX 1.11 installed on you computer, then you
should use the uninstall option of MiKTeX 1.11.
- Make sure that you have enough disk space. A complete MiKTeX
installation consumes approximately 40MB of disk space.
- It is highly recommended that you login as Administrator, if you're installing
MiKTeX on a Windows NT computer.
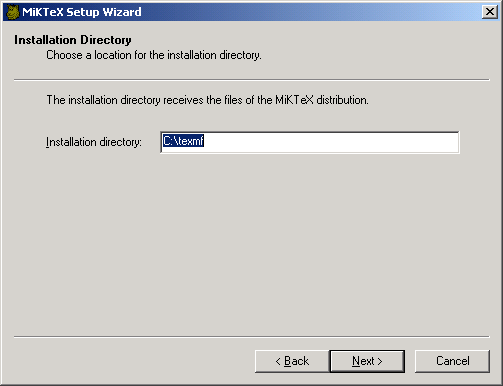
- Choose a location for the installation directory, say
c:\texmf.
This directory receives the files of the MiKTeX distribution.
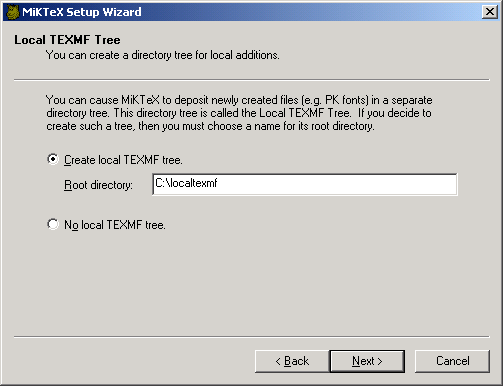
- You can cause MiKTeX to deposit newly created files (fonts, memory
dumps, filename databases) in a separate directory tree. This directory
tree is called the Local TEXMF Tree. If you decide to create
such a tree, then you must choose a name for its root directory, say
c:\localtexmf.
Benefits that a local tree provides include the following:
- Fast file search: MiKTeX assumes that only the local tree can receive
new fonts and the like, i.e. MiKTeX can trust in the file name
database when the remaining (non-local) trees are searched for a file.
- You can use the local tree for your own additions (macros, fonts).
- Easier updates: You don't have to worry about future MiKTeX updates,
since the local tree will not be overwritten by the setup program.
- You can install the MiKTeX distribution on a read-only media.
- Decide whether you want to incorporate a preexisting TEXMF tree. For
example, if you have a TeXLive CD in CDROM drive
e:, then it
is possible to include e:\texmf in the MiKTeX search path.
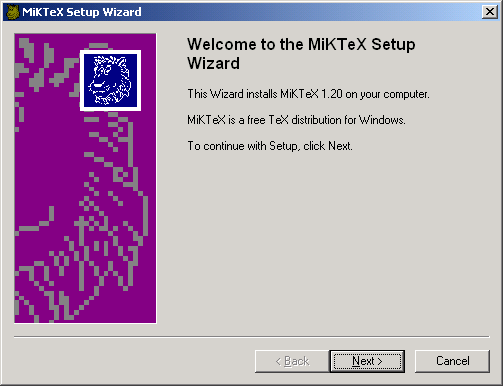
- Start the MiKTeX Setup Wizard (
setupwiz.exe). You will
presented with the welcome page:
- Click
Next> to go to the next page. Enter the name of the
installation directory which you have chosen in step 4:
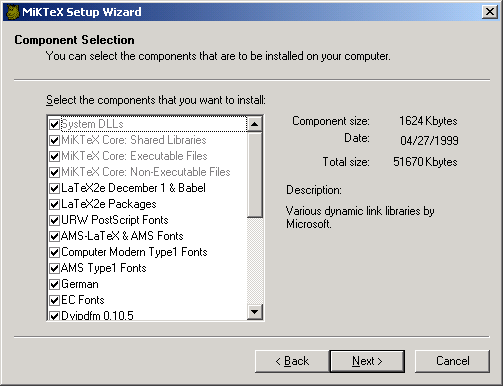
- Click
Next> to go to the next page. Choose the components that
want to install:
- Click
Next> to go to the next page. Enter the name of the local
TEXMF directory which you have chosen in step 5 or check the button
No local TEXMF tree, if you don't need a local tree:
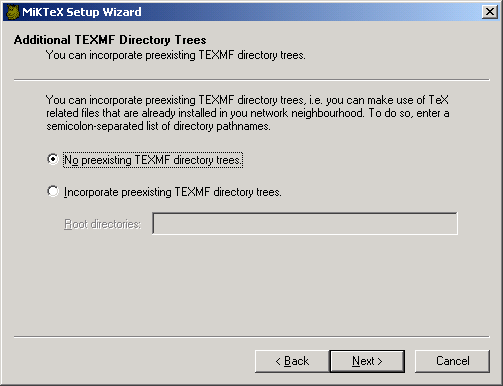
- Click
Next> to go to the next page. You are now asked about the
list of additional TEXMF root directories. Enter a semicolon-separated
list of preexisting TEXMF root directories. Check the button No
preexisting TEXMF directory trees, if you just want to use the TEXMF
tree that comes with MiKTeX:
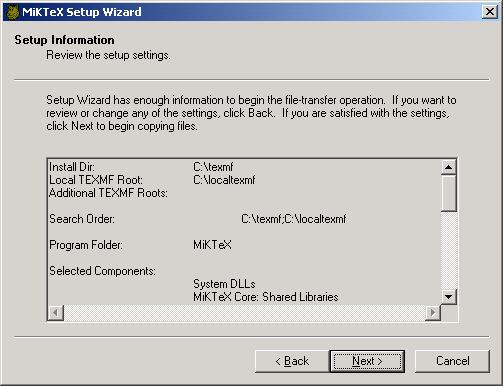
- Click
Next> to go to the next page, where you can review the
setup options:
- Click
Next> to start the installation process. The selected
components will be copied to the installation folder chosen in step 4.
Eventually you will see the finish page:
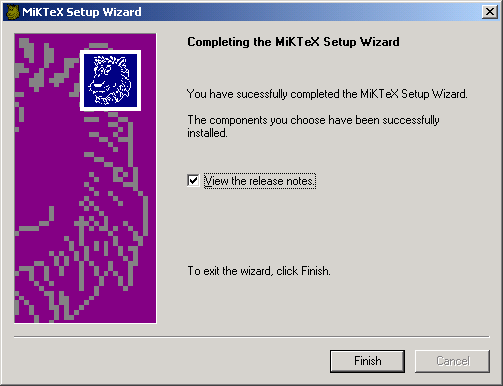
- Click
Finish to exit the Setup Wizard.
The Setup Wizard does not change the environmental variable PATH,
i.e. you may have to add something like
set PATH=%PATH%;c:\texmf\miktex\bin
to your autoexec.bat.
Node:Setup Options,
Previous:Installing,
Up:Top
Setup Options
Some setup options can be specified on the command-line and/or in a separate
text file named setupwiz.opt.
You can invoke the MiKTeX Setup Wizard with the following
command-line options:
--additional-directory-trees DIRS
- Specify additional TEXMF directories.
--allow-unattended-reboot
- Allow a reboot in unattended mode.
--dry-run
- Simulate the installation process. No files will be installed. The log
file will be written to the temporary directory.
--installation-directory DIR
- Specify the installation directory.
--help
- Show available options and exit.
--no-additional-directory-trees
- Prevent MiKTeX from using additional directory trees.
--no-local-directory
- Prevent MiKTeX from using a local directory.
--program-folder FOLDER
- Specify the MiKTeX program folder.
--unattended
- Run Setup Wizard in unattended mode. No user input is required.
Command-line options can also be specified in a text file named
setupwiz.opt. This file must be in the same directory as
setupwiz.exe.